 English

You have a relationship with your oven. You use it every day, and you clean it almost never. Most people only act once the smell starts, and by then the residue has been baking on for months. This guide covers proper oven cleaning in Northampton, whether you tackle it yourself or hand it over.
The DIY method below genuinely works on a moderately dirty oven. The honest part comes later, where we explain what it cannot fix and when professional help is the sensible call.
The DIY method, step by step
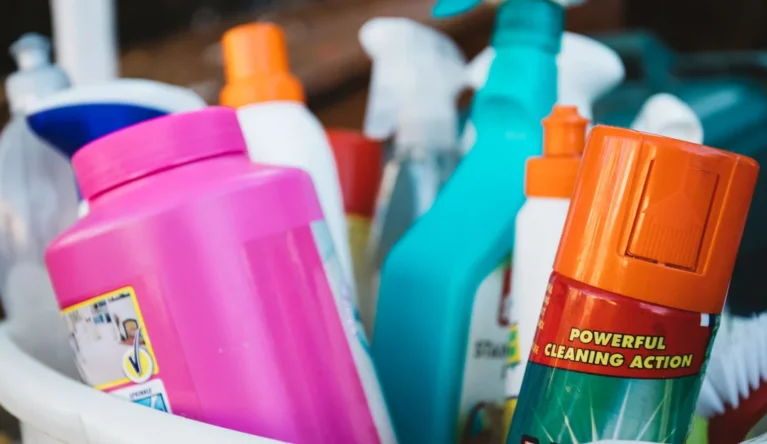
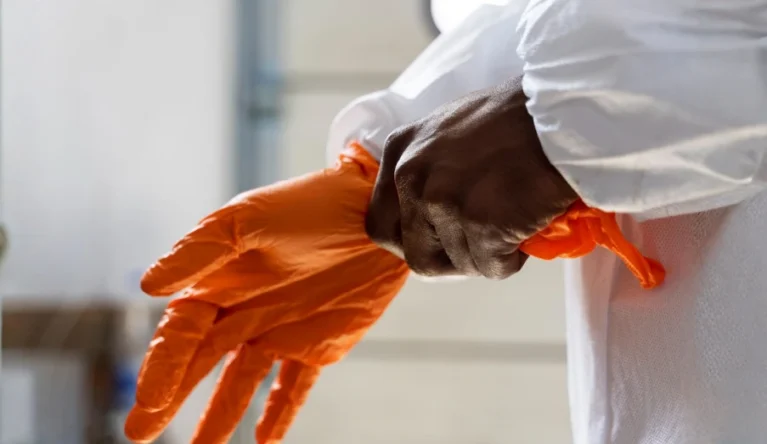
Set aside two to three hours, open a window, and wear gloves. Oven cleaners are among the strongest domestic chemicals you will own, and they deserve respect.
- Remove the racks and side rails. Soak them in a bath or a large tray of hot water with biological washing powder. Leave them overnight. This does most of the work for you.
- Make a bicarbonate paste. Mix bicarbonate of soda with a little water to a spreadable paste. Spread it over the interior walls, base, and door glass, avoiding the heating elements. Leave it for at least an hour, longer for heavy build-up.
- Let it dwell properly. The mistake almost everyone makes is wiping too soon. Cleaning products need time to break the grease down, often a full hour or more for baked-on residue. Warmth helps, so a warm, not hot, oven speeds this up.
- Wipe out with warm water. Use a microfibre cloth and rinse it often. A plastic scraper removes stubborn patches without scratching the enamel.
- Deal with the glass door. Clean the inside of the door glass with the paste, then the outside with a glass cleaner. If your oven has a removable inner pane, take it out and clean inside properly, because that unwashed middle pane is what makes the whole door look foggy.
- Wipe the door seal and rim. The rubber seal and the lip around the opening collect grease that heats up with every use. A degreaser and an old toothbrush reach into the groove.
- Finish with the extractor filter. The filter above the hob is part of the same job. Soak it in hot water with a degreaser, scrub, and dry fully before refitting.
Do not use caustic products on aluminium parts, and never mix cleaning chemicals. One product at a time is the safe rule.
Do not damage the oven while cleaning it
A few mistakes turn a cleaning job into a repair bill:
- Steel wool and wire brushes scratch oven glass and enamel permanently. Use a plastic scraper and cloths instead.
- Never get water into the fan, the heating elements, or the vents at the back.
- Check the manual before removing the door. Some hinges are not designed for it, and a dropped door is expensive to replace.
- Do not scrub the door seal with anything aggressive. If it is damaged, the oven loses heat and runs inefficiently, and a replacement seal is the fix.
The spots everyone misses
Even after a thorough DIY clean, these places are usually still dirty: the hinge side of the door, the gap between the runners and the side walls, the corners of the base tray, and the fan cover on the back wall, which collects a greasy lint that reheats on every bake. Wipe your finger on the fan cover and you will see exactly what we mean.
Switch the oven off at the wall before you start, and leave it off until everything is dry. It costs ten seconds and removes the only serious risk in the whole job.
How often does an oven need this?
For most households, a proper clean every six months keeps the oven healthy, with a wipe-down of the door glass and base every week or two. If you roast regularly or the oven gets used twice a day, move the proper clean to every three or four months.
A quick touch-test tells you when it is due: run a finger along the inside of the door glass and the back wall. Grease on the finger after a normal week is normal. Grease that feels like sandpaper means it has baked through the layer below, and DIY effort will start to struggle.
Where DIY reaches its ceiling
Bicarbonate paste and elbow grease handle the first few years of an oven’s life. They meet their match in the following cases:
- Heavily carbonised grease that has been reheating for years, especially on the base tray and fan cover
- The fan and back panel, which need removing with tools most homes do not have, and where damage is expensive
- Between the door panes, on ovens where the glass is not designed for home removal
- Screw-on door hinges and runners, where grease hides and cleaning them in place is nearly impossible
- An oven that smokes or smells, which means residue has reached the point of burning off on every use
Professional cleaning uses proper degreasing baths and tools made for the job, without the risk of scratched glass or damaged enamel. It is the difference between an oven that looks cleaner and an oven reset back to nearly new.
What a professional oven clean costs in Northampton
A standalone professional oven clean in Northampton typically costs £50 to £90 depending on the oven size and how much baked-on residue there is. If the rest of the kitchen needs attention as well, oven cleaning is included within a full deep clean, which usually works out better value than booking the two jobs separately.
If your oven is one of the five warning signs we describe in 5 signs your home needs a deep clean, cleaning it is likely the first domino: a fresh oven often prompts an oven-to-ceiling reset of the whole kitchen. If you are not sure how deep to go, our room-by-room spring clean checklist covers the full kitchen routine.
The short version
Dwell time is everything. Racks in the bath overnight, paste on the walls, patience before wiping. Do that twice a year and you will never meet the smoke alarm. Leave it for five years and no paste will win.
Want the oven handled properly, racks and all? Book oven cleaning in Northampton or call us on 07743 636769, Monday to Saturday, 8am to 7pm. We cover all NN postcodes and the surrounding Northamptonshire area.